
An updated guide: faster compost, way fewer headaches.
This is an expanded, no-fluff version of my original compost guide — based on what’s actually worked on my own land, with all the trial, error, and unexpected compost surprises along the way.
1. Pick a Spot That’s Out of the Way (But Not Forgotten)
Mine’s right behind the coop — shaded, quiet, and close enough that I don’t forget it exists.
Look for a shady corner on level ground. Keep it near your garden or shed so it’s easy to use. If you’ve got access to a hose or rain barrel, even better.
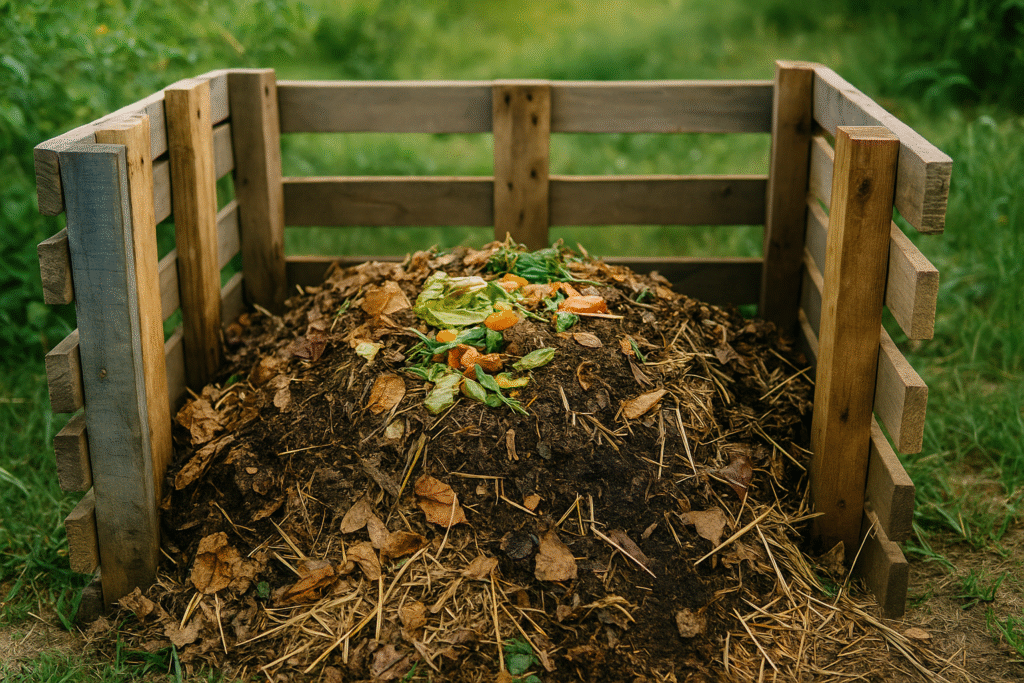
2. Build a Bin… or Just Make a Pile
My first bin? Three old pallets screwed into a U shape. No floor, no lid. Just air flow and structure.
No pallets? No problem. Just heap it in a pile. Compost wants to happen.
See how I use simple buckets to organize my setup →
3. Know What Goes In
Greens (wet, nitrogen):
- Veggie scraps
- Coffee grounds
- Grass clippings
Browns (dry, carbon):
- Leaves
- Straw
- Shredded paper
- Cardboard
No meat. No dairy. No oily stuff. Keep it balanced and you’re golden.
4. Turn It When You Think About It
Weekly? Sure. Monthly? Fine.
I use a digging fork and flip the top layers every week or so — sometimes more, sometimes less. If it smells funky or looks soggy, add straw or dry leaves. If it’s dusty, give it some water.
5. Use It When It’s Ready (Don’t Wait for Perfect)
After 6–8 weeks, you’ll start seeing that dark, crumbly magic at the bottom. That’s your good stuff.
I use it in raised beds, mix it with garden soil, or spread it as a top-dress on tired soil.
Final Thoughts
You don’t need a tumbler. You don’t need perfect ratios. You just need to start.
Compost is one of the easiest, most effective ways to make your soil (and your whole homestead) better — for free.
More Posts You Might Like:
👉 Backyard Survival Garden Starter Guide
👉 Top Tools Every New Homesteader Should Own
👉 Homestead Organization Tips That Actually Work
Pingback: Top 5 Heirloom Vegetables Every Beginner Should Grow (and Why They Matter) – VetStead
Pingback: How to Store Garden Veggies Without a Fridge - VetStead